Your weekly
wash
STOP scratching your paintwork with grit!
Without knowing it, you're probably putting new layers of scratches every single week. Let's put a stop to that. Here's our process from start to finish, step by step, to make you a pro at washing and maintaining your car safely and swirl-free!
1 Preparation & inspection
Finding the perfect spot. Here's what you need:
Shade, no direct sun
Protection from wind & dust
Easy access to water & electricity
No gravel if you have a pressure washer!
Lay your products out, hook up your hoses and plug in your pressure washer and/or blow dryer. Take care in the setup, you'll thank yourself for it later.

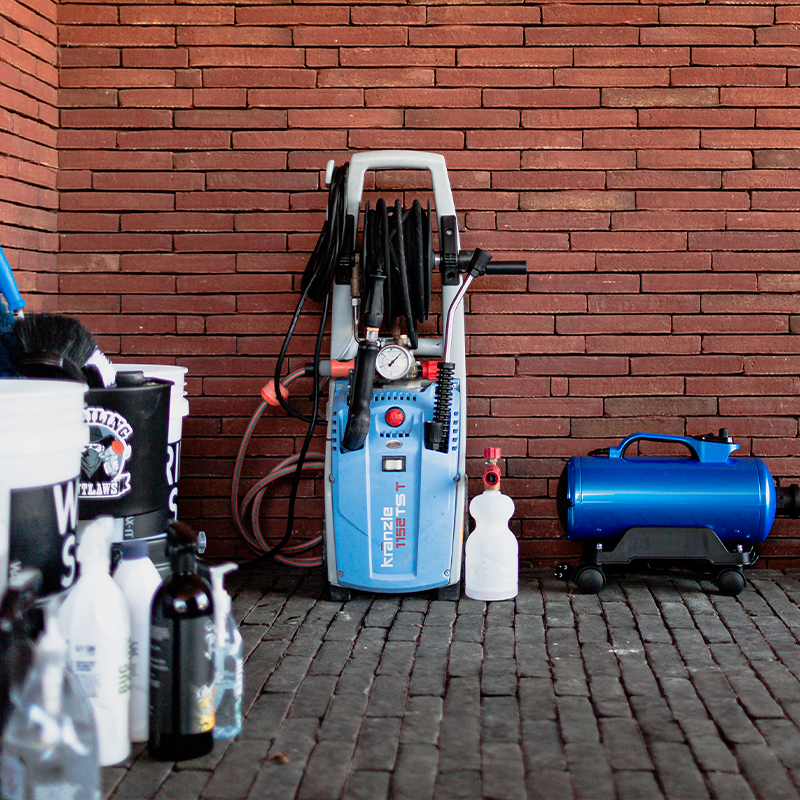
Take a good look at the car and do a quick equipment check to make sure you have everything you'll need.
Check for these things:
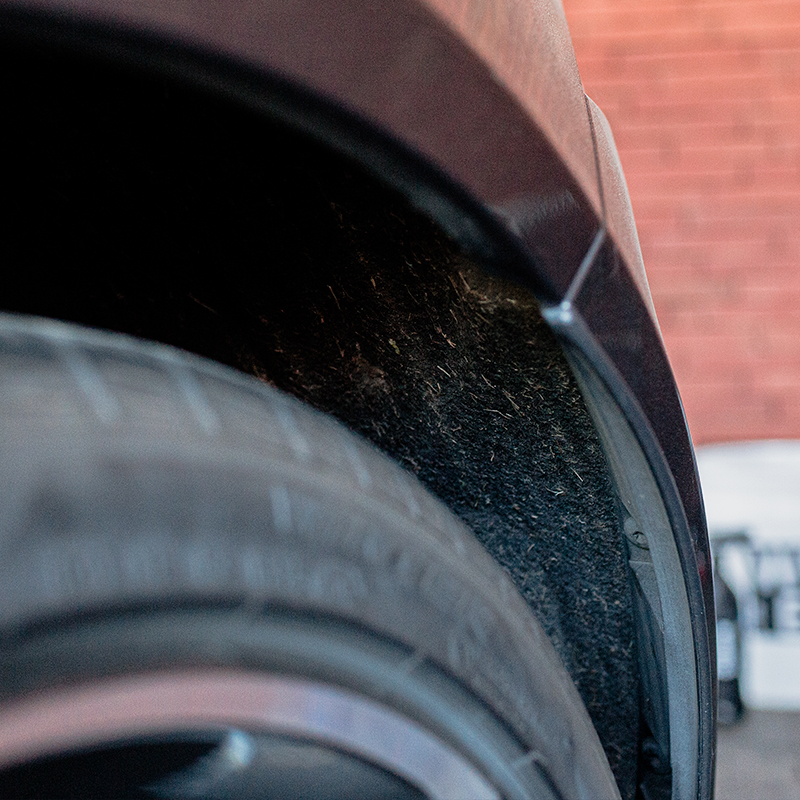
Dried on bugs, oil stains, tree sap, iron or tar, muddy wheel arches.
Or anything else you would need to scrub off - remember, we want to avoid any scrubbing!
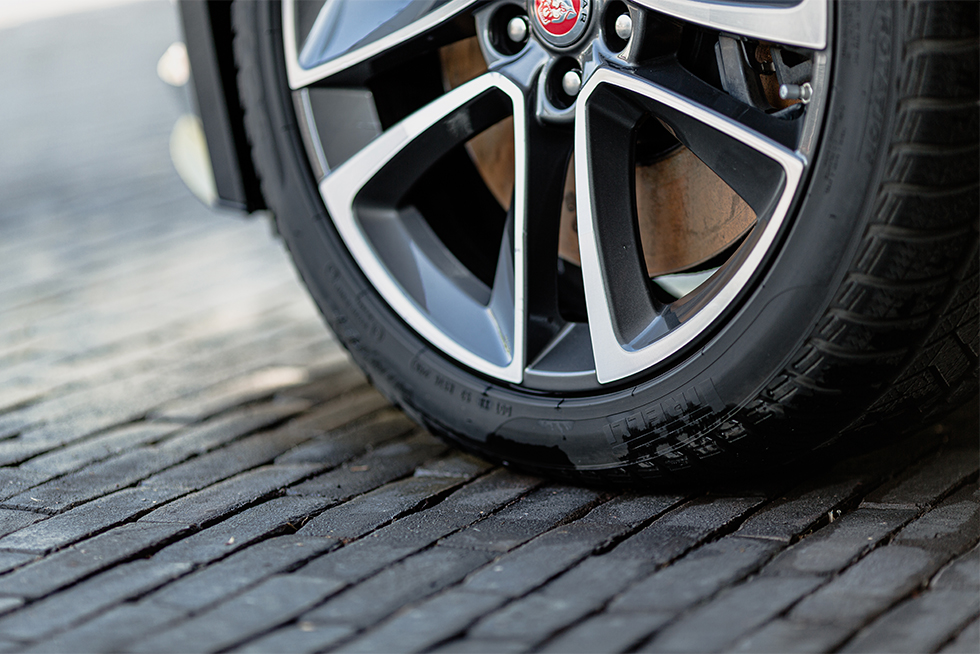
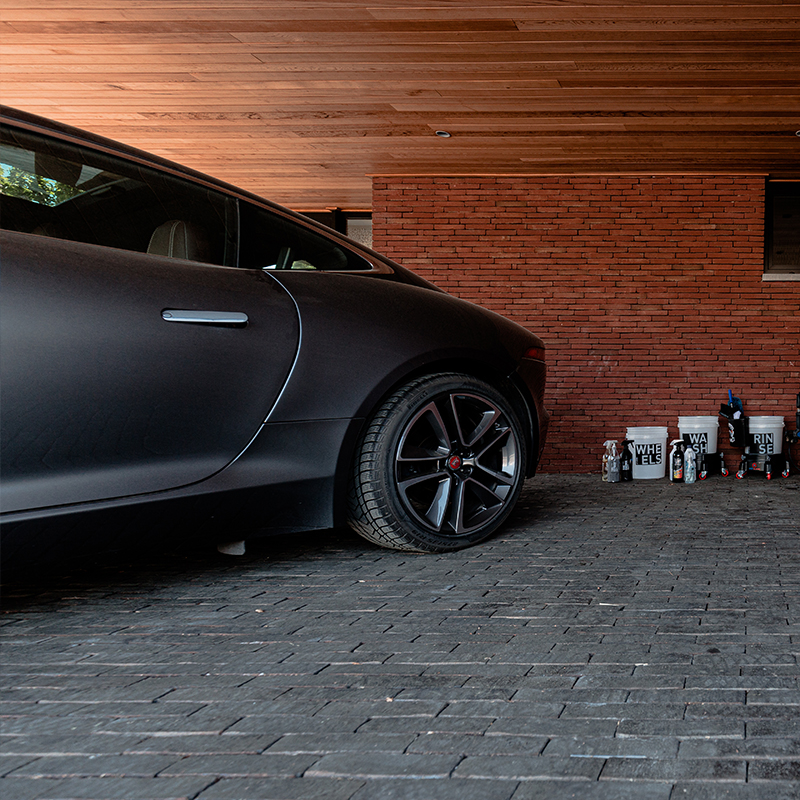
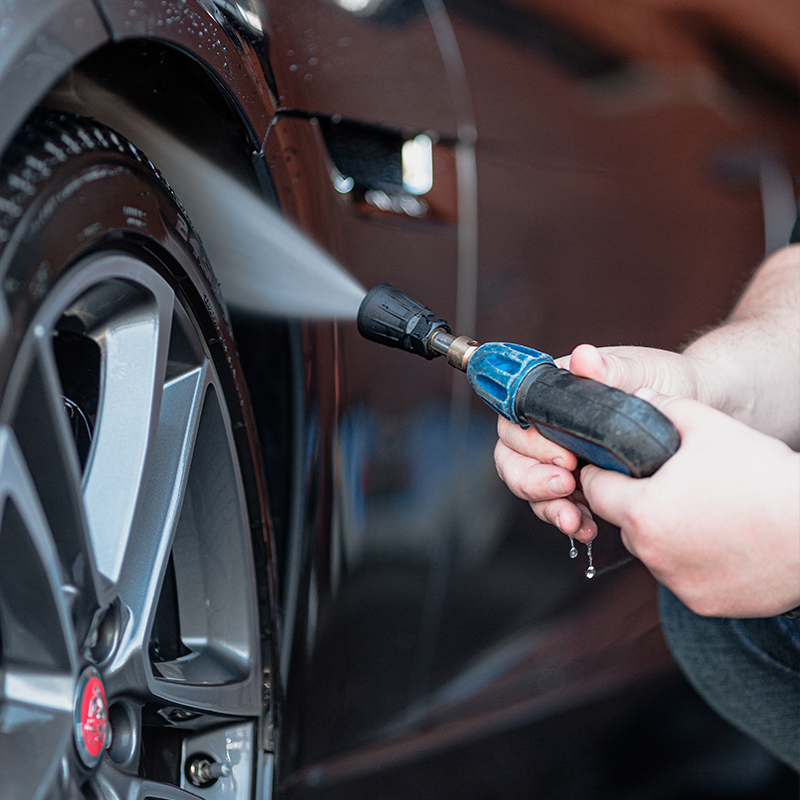
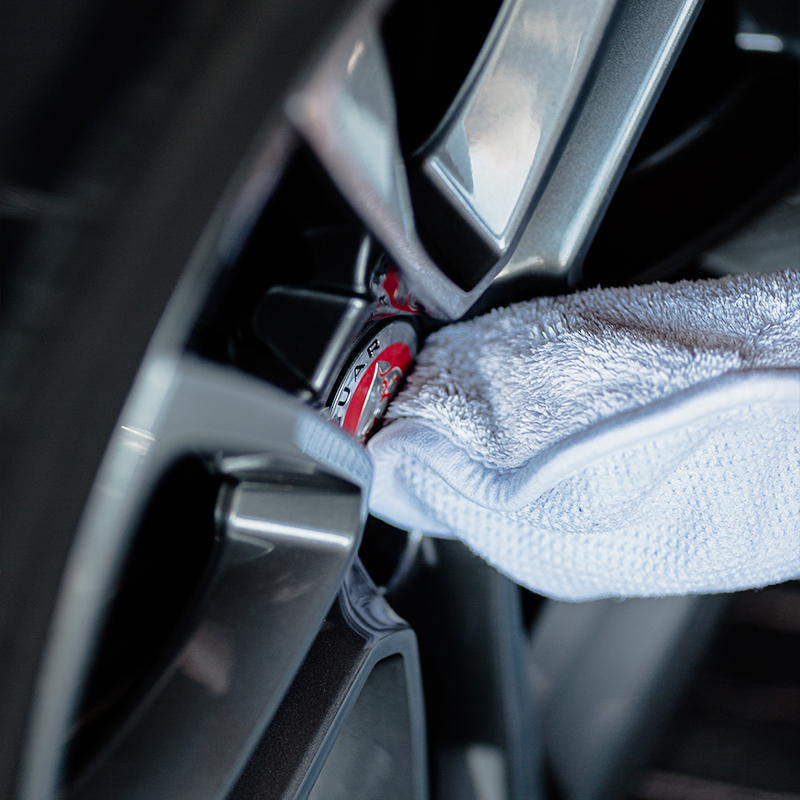
2 Wheel wash
Getting the worst off first.
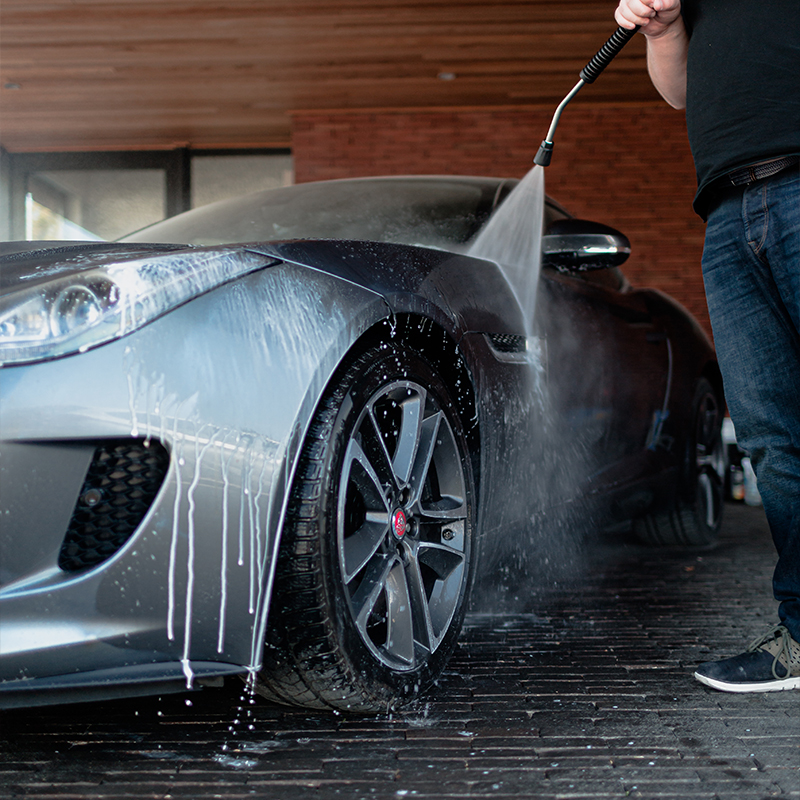
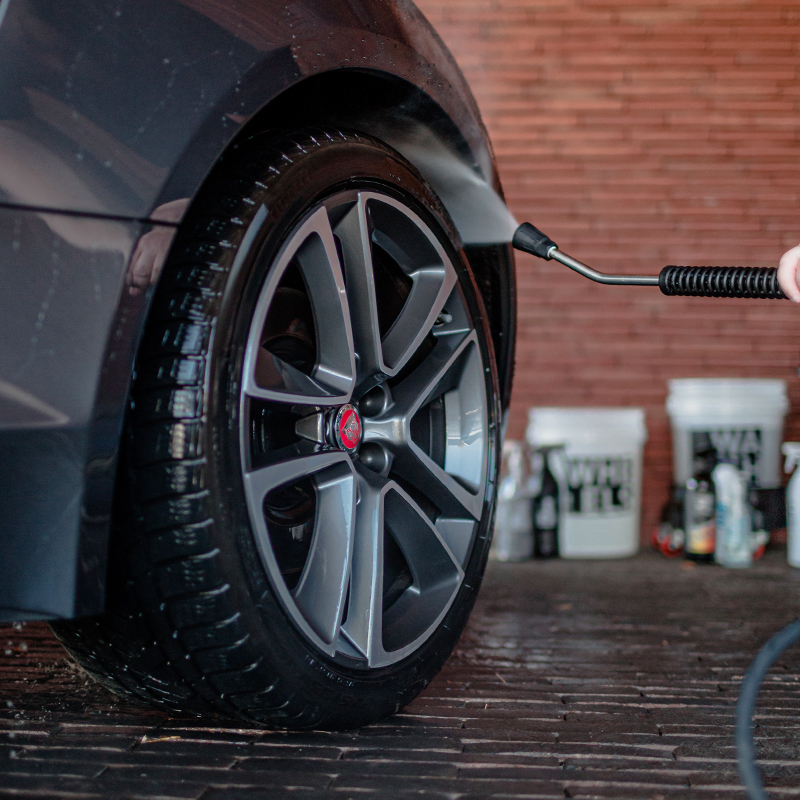
Rinse your tyres, rims & wheel arches.
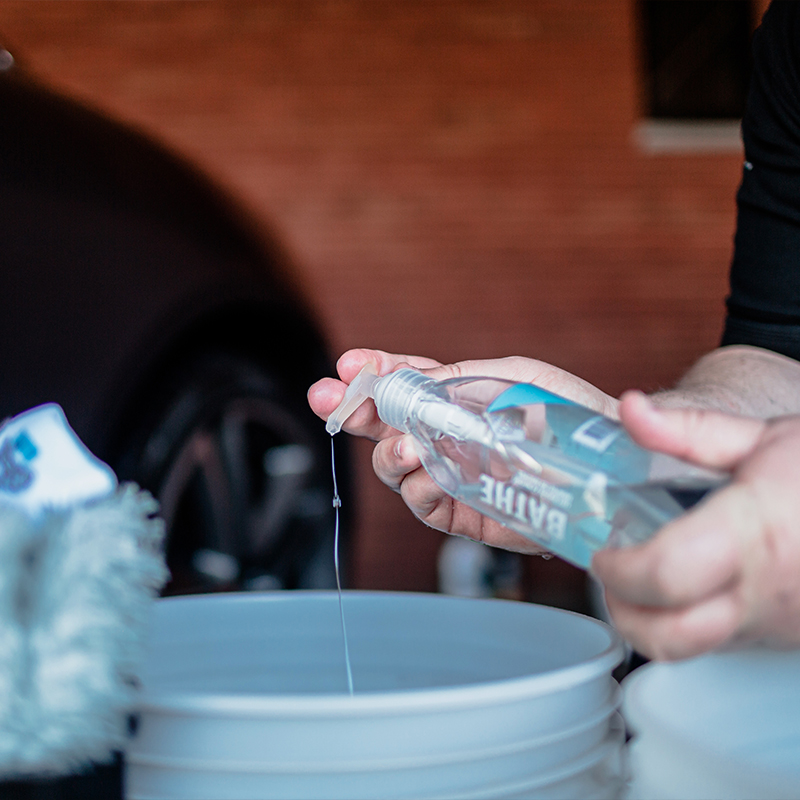
Wash with a mild wheel cleaner / wheel soap, getting into the details as much as possible.
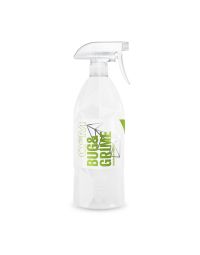
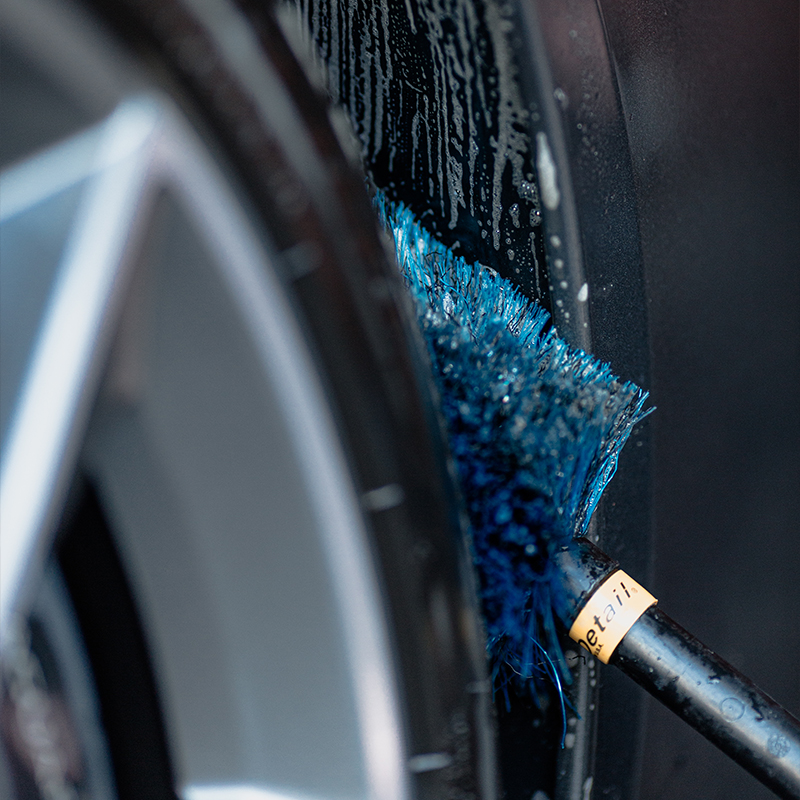
Spray some bug & grime remover on your wheel arches. Spray, scrub with a wheel brush, leave to soak and then rinse away. You can now rinse the whole wheel, wheel arches and surrounding paintwork in case there are any dirt splashes.
For even better results use a strong wheel cleaner or iron remover.
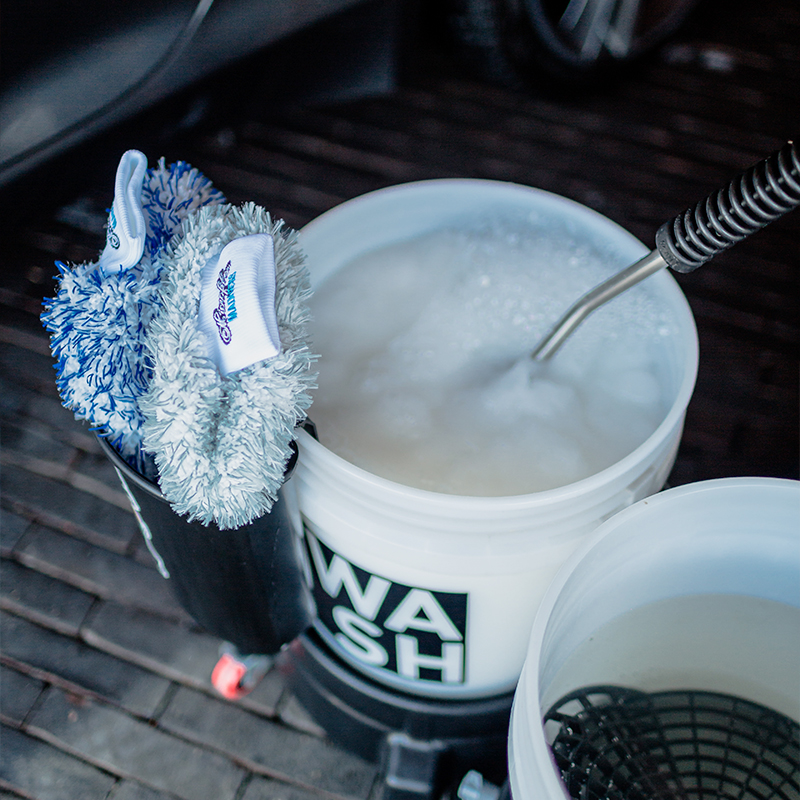
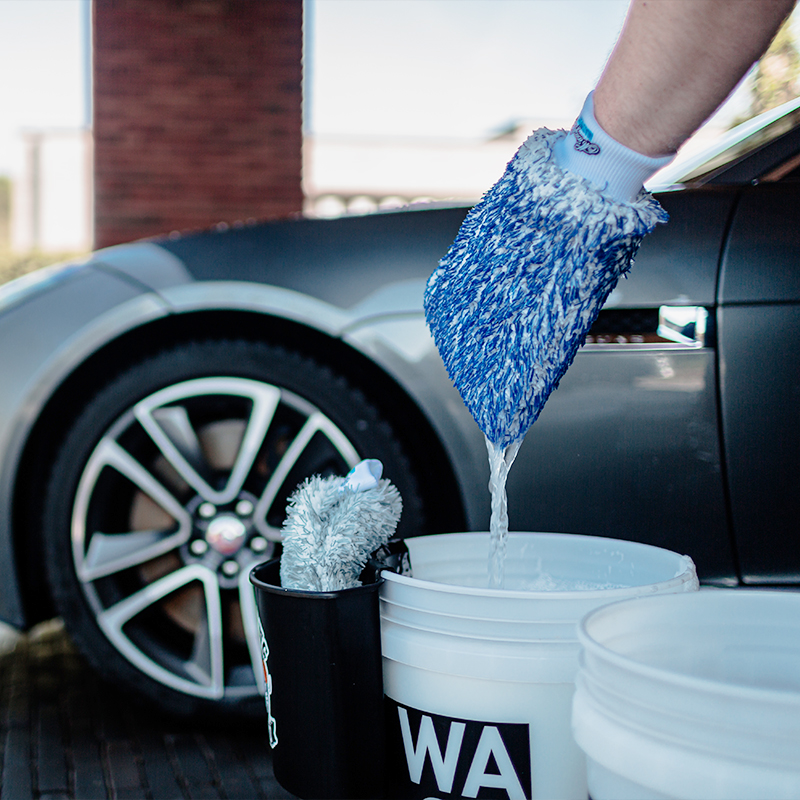
Pro Tip: Use a separate bucket just for wheels - we can't stress this enough, keep that wheel dirt and grit away from your paintwork! Wheel brushes, mitts & detailing brushes are also great for getting in & behind the details of your rims.

3 Pre-wash
Get the grit off before you even touch the car.
Spray bug remover, let it soak & rinse off.
Foam, let it soak & rinse off. Soaking times usually vary from 5-15 minutes.
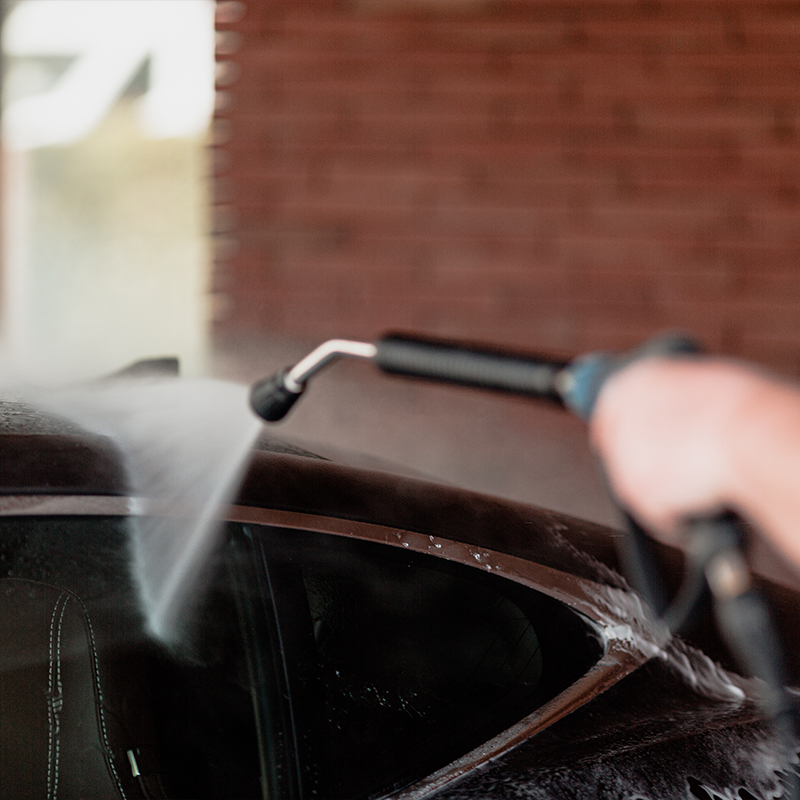
Rinse the whole car, every panel and detail. Even if you don't use bug remover or foam, rinse rinse rinse!
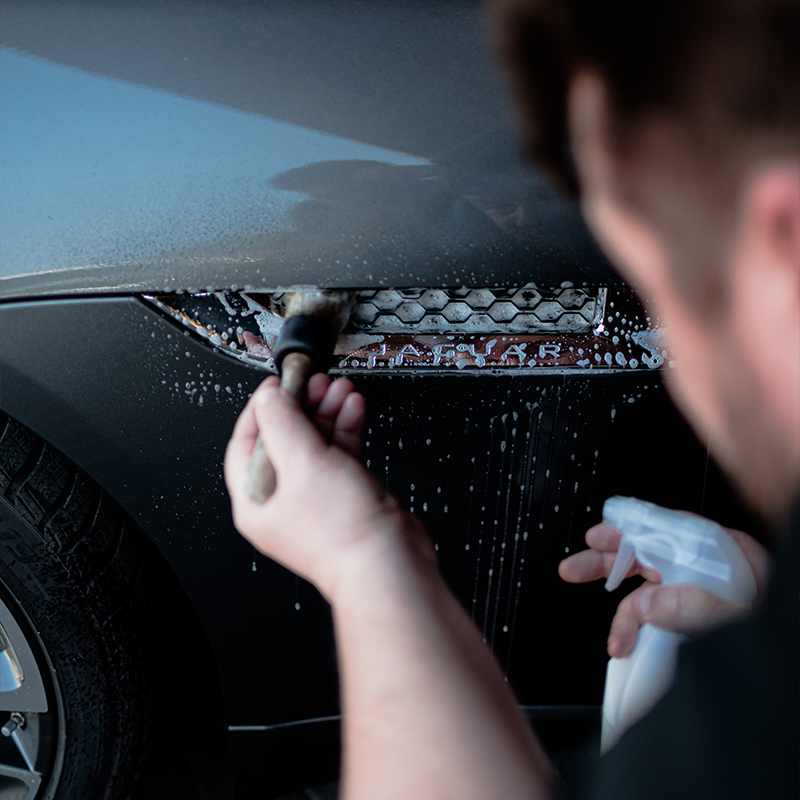
Don't forget the wheel arches, vents and any other hidden or detailed areas.
Pro Tip: Use a detailing brush to work into the details like vents, logos & grills. Work softly in circular motions, don't overdo it and try your best to avoid the paintwork. Detailing brushes are soft but we're still pre-wash, so there's lots of grit and dirt all over the car.

Pro Tip: Rinse top to bottom! Washing the grit and dust towards the floor starting at the roof. Use a pressure washer if you have one, read up on why you need one here: Pressure Washer Benefits & Tips.
Foaming: The best & safest method by far. We know, of course, that you may not have your own pressure washer and foam lance. This step has huge advantages, so if you're interested you can take a look at some home pressure washers & foam lances.
Interested in foaming? Snow Foam Tips
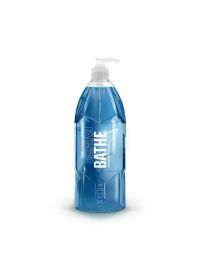
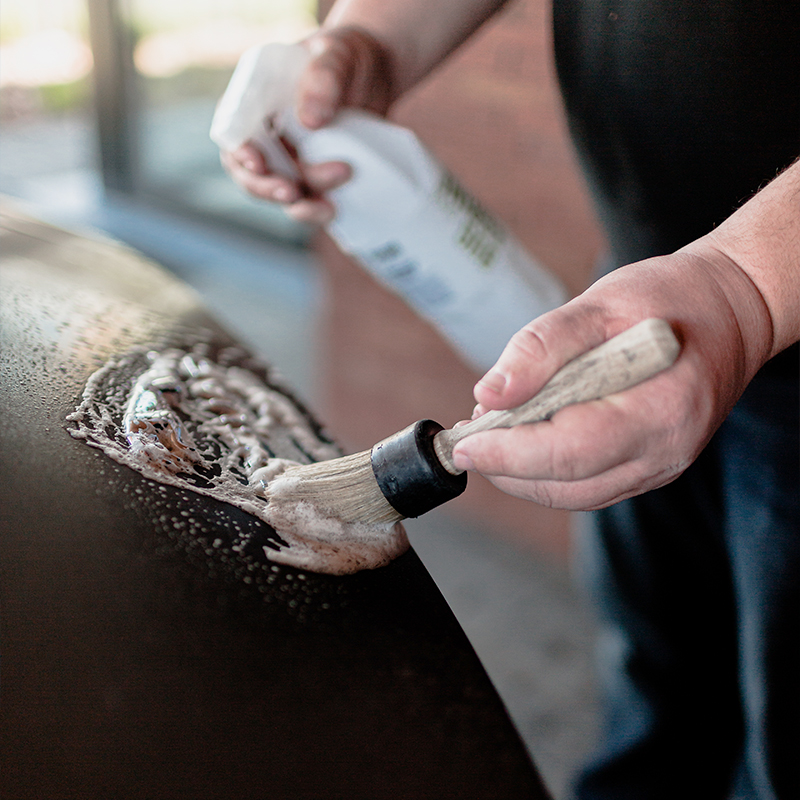
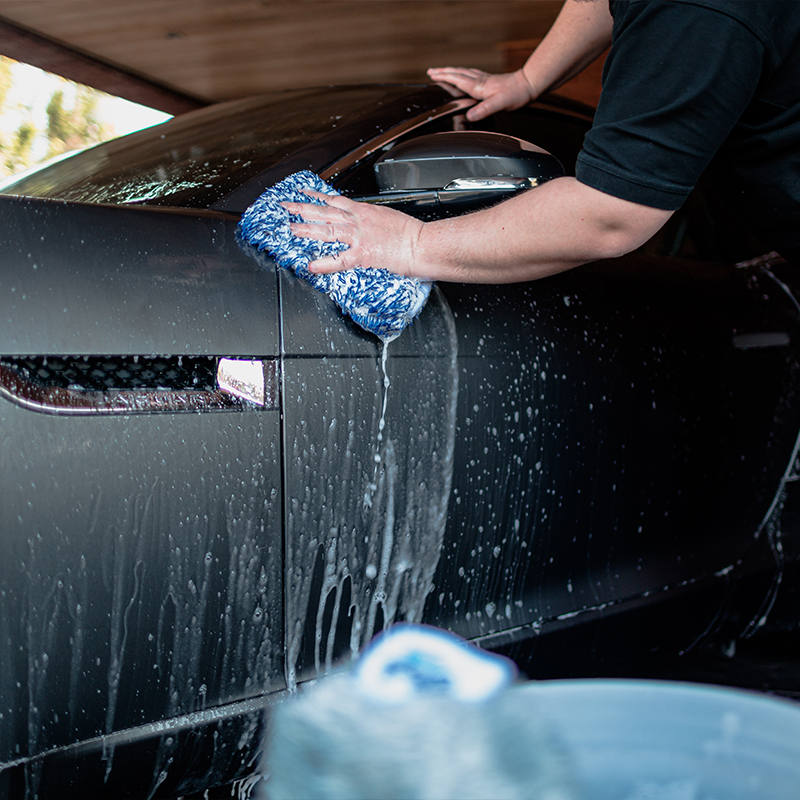
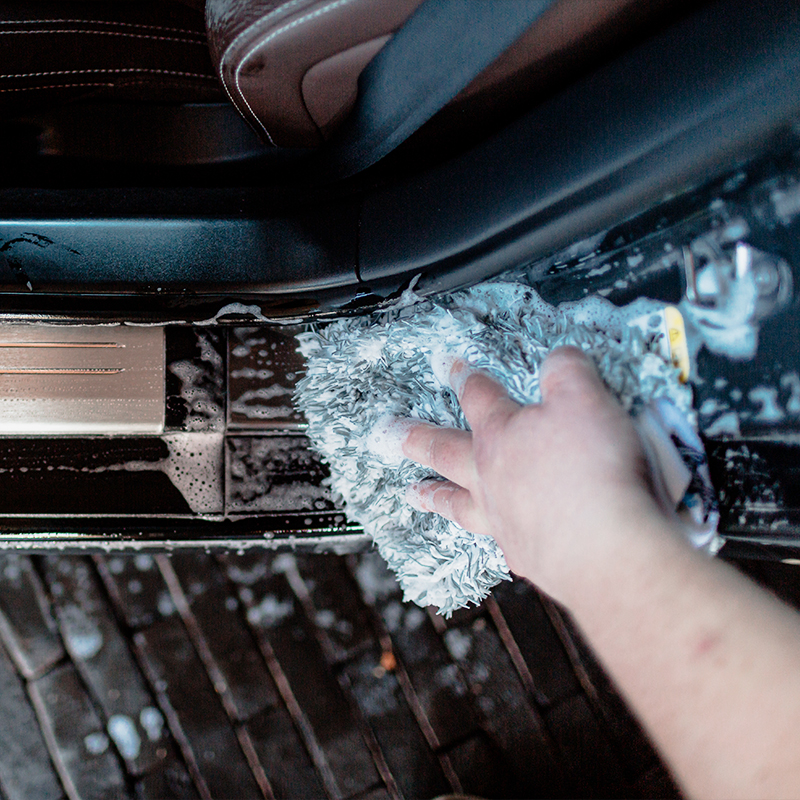
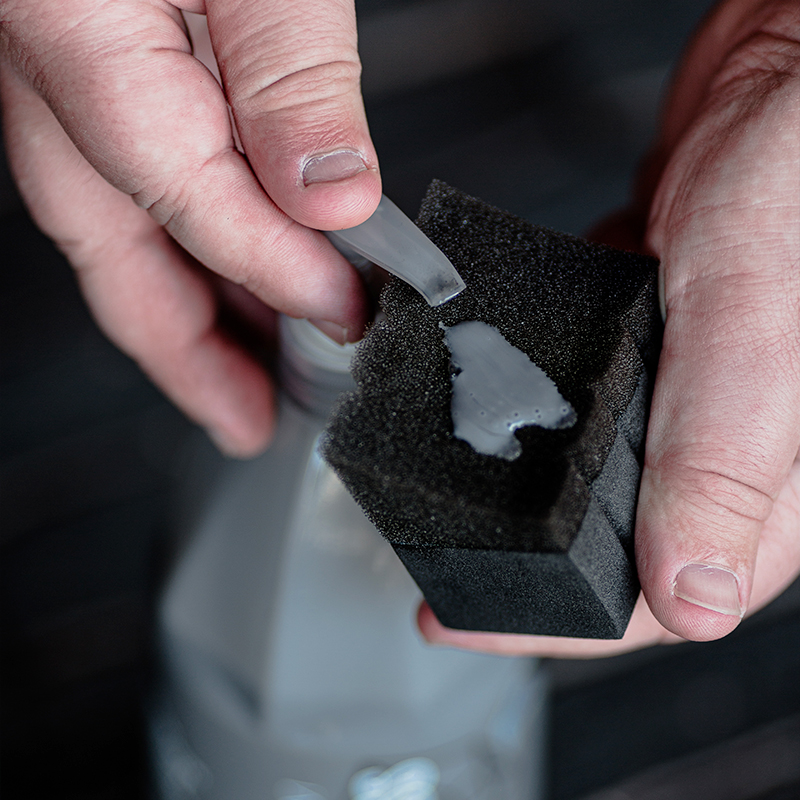
4 Shampoo
Time to get your mitt on!
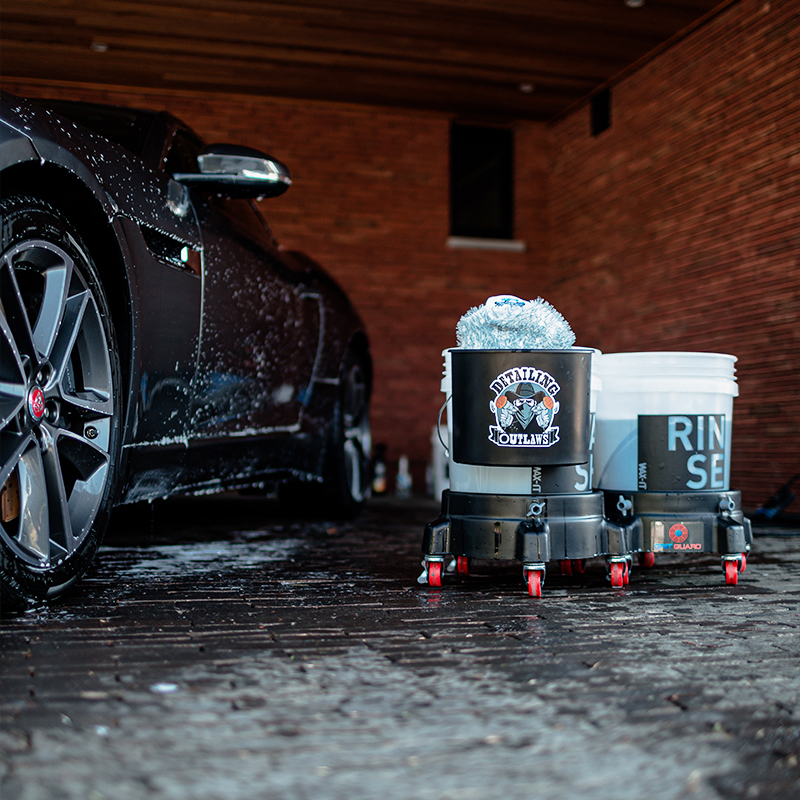
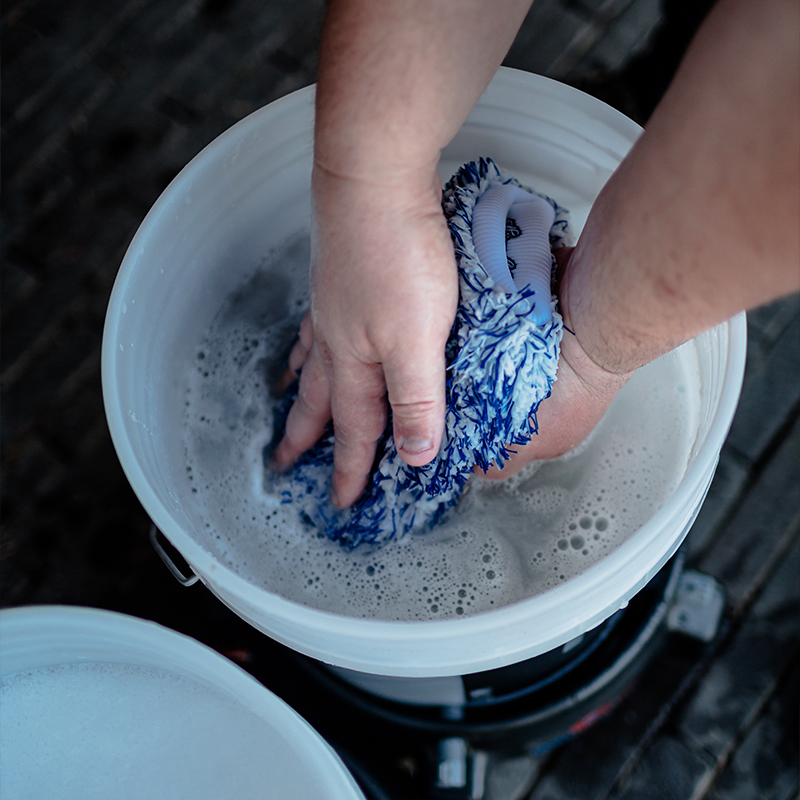
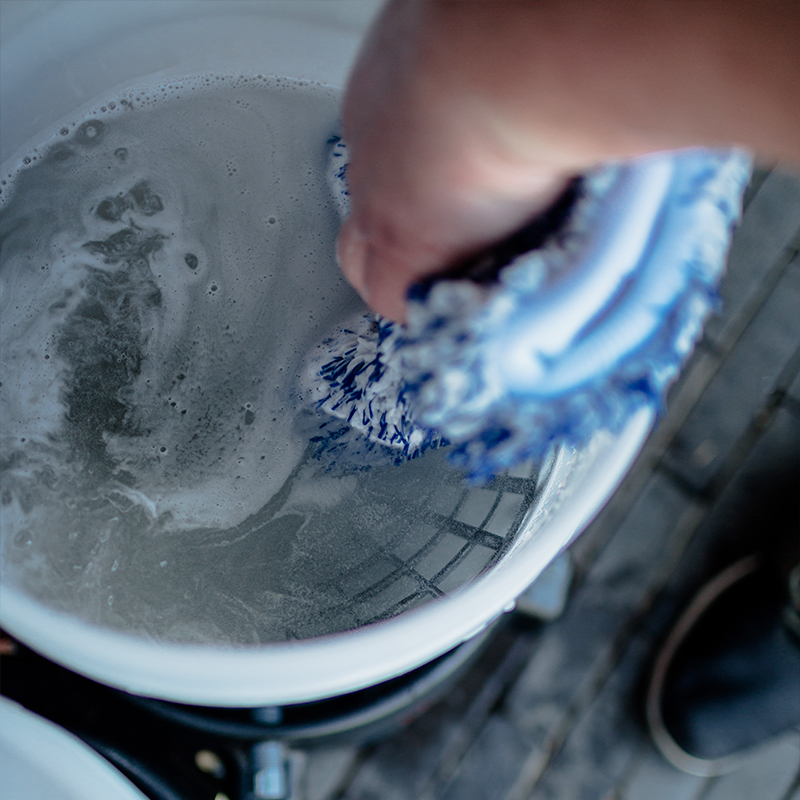
2 buckets ready: 1 for your shampoo, 1 for rinsing your mitt.
Add shampoo and foam it up.
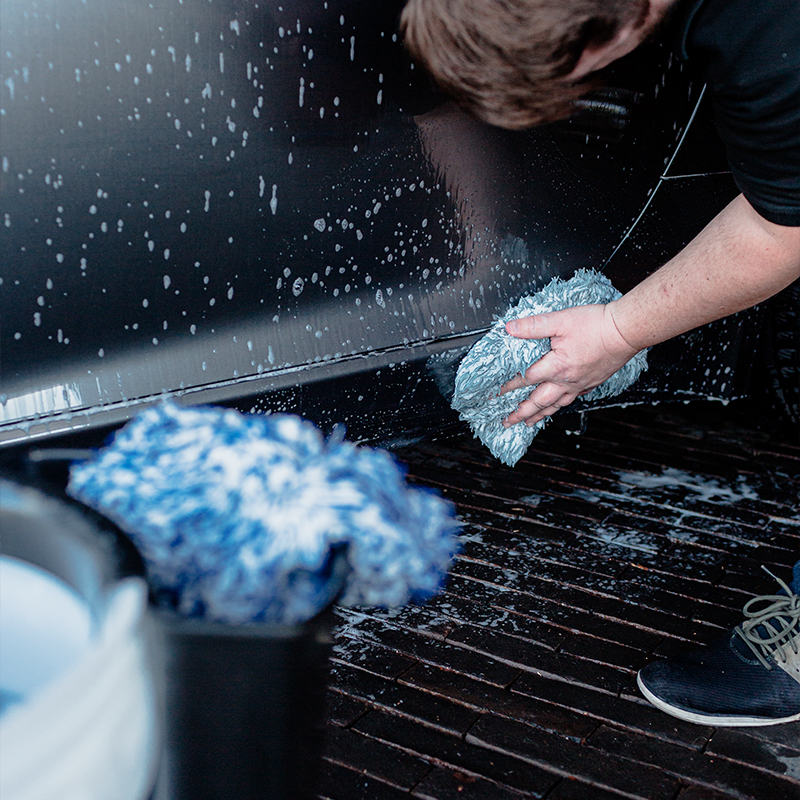
Wash with long, straight strokes, panel by panel, starting with the roof and working your way down.
We keep our brushes & mitts clean and close by in our Buckanizer. Also think about which shampoo is best for your car, there are different types so be sure to read the description before buying.
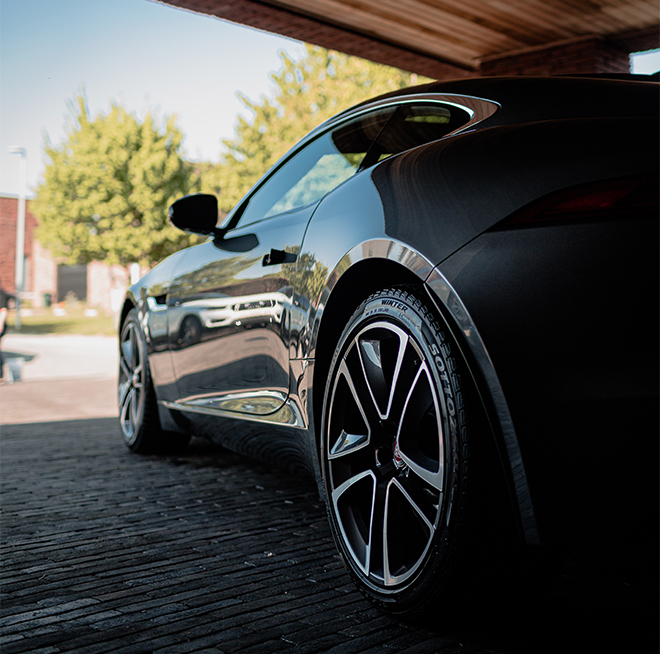
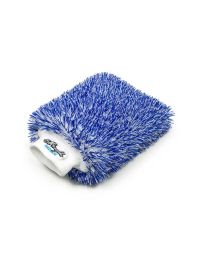
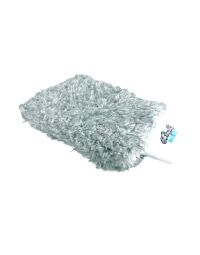
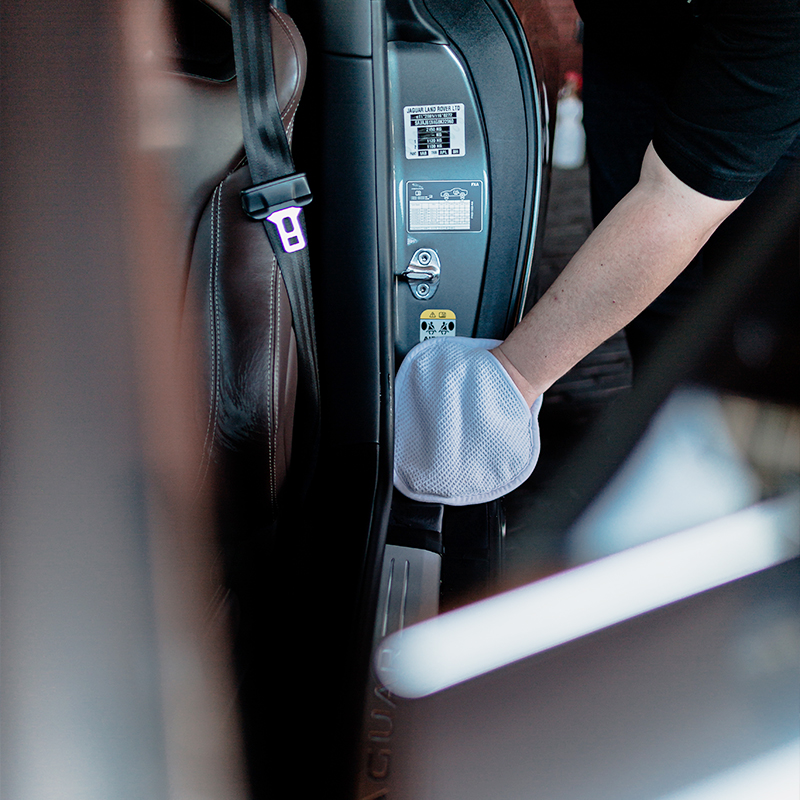
Pro Tip: Use 2 different coloured wash mitts, one for the main panels of your car and another for the extra gritty bits, front bumper & door jambs like we show in the photos.
Pro Tip: Each time you rinse your wash mitt in the rinse bucket, either use your fingers to scrub the grit and dirt loose, or place a Grit Guard in your bucket to scrub against.
This way the dirt falls to the bottom and stays there, and won't find its way back to your car. Then dunk back into your wash bucket and get back to it!
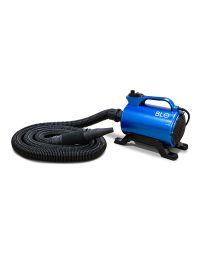
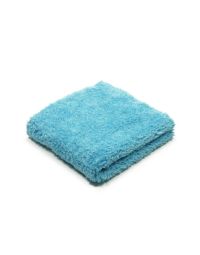
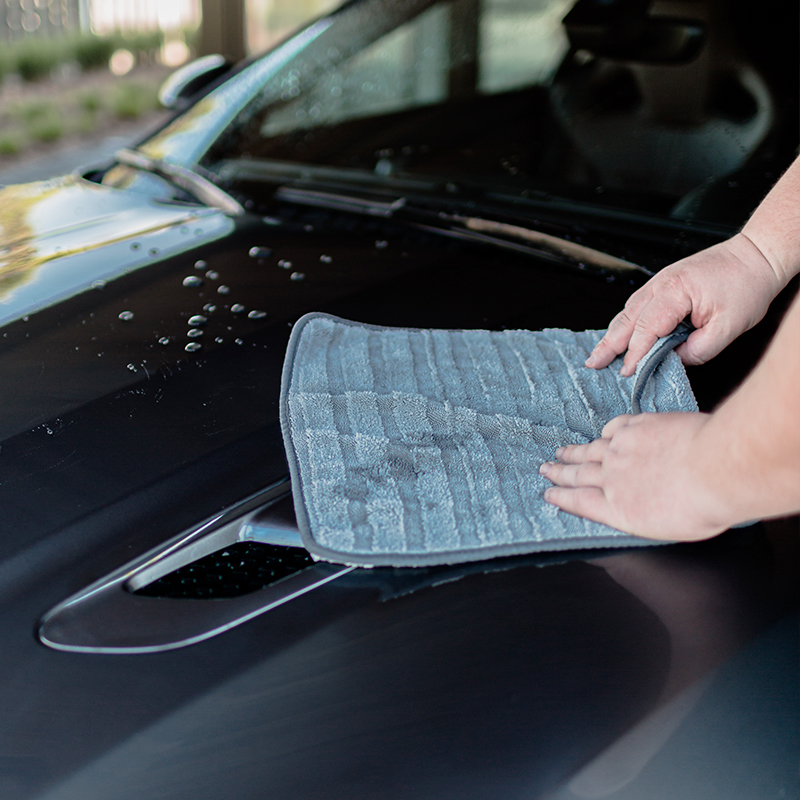
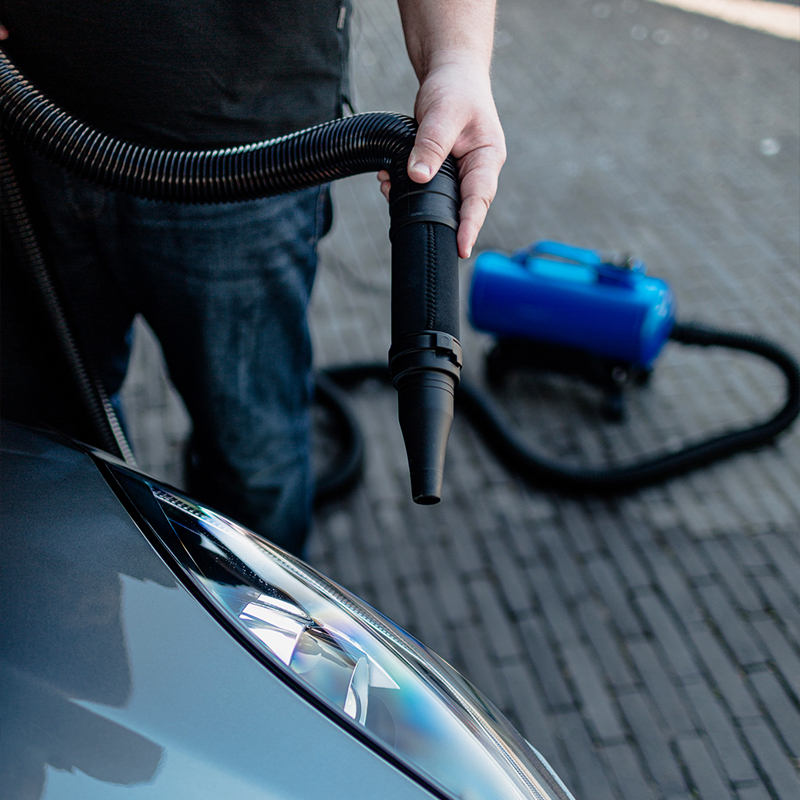
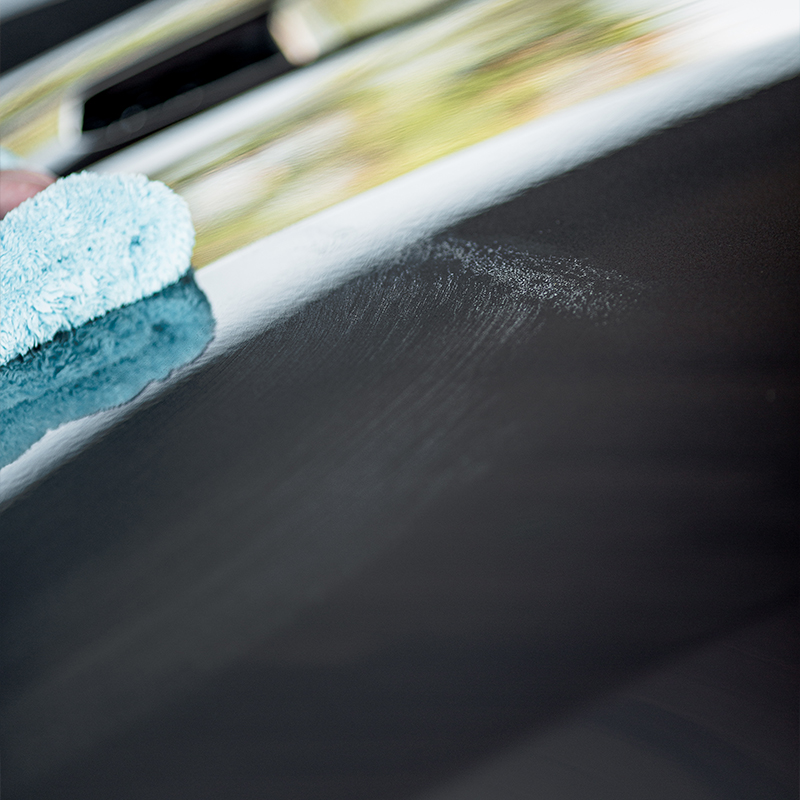
5 Safe drying techniques
Staying cautious, even at this stage.
Use long strokes, panel by panel, roof first and work your way down. Start with the main panels and finish with the dirtier areas and door jambs.
The safest way is with a vehicle dryer. For all advantages, tips and tricks see Safe Drying.
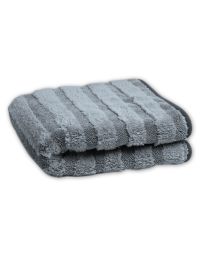
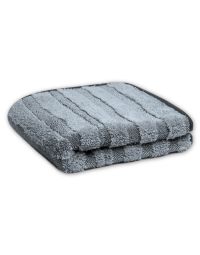
Towel Tips:
The 2 most common techniques for using your towel are either folding small, re-folding for the next panel and therefore using different part of the towel for each panel. Or, as shown below, to lay the towel flat out and draw it across the car with the same long strokes - covering a larger surface area but gradually increasing the wetness of the towel as a whole. Drying mitts are also fantastic for door jambs and details.
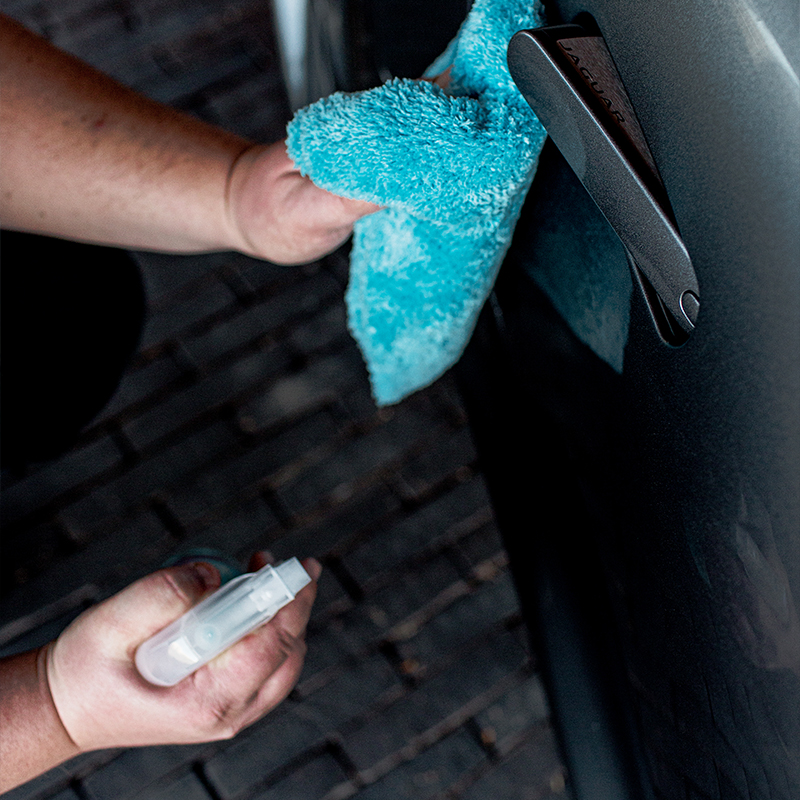
6 Finishing touches
It's protection time.
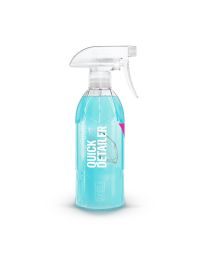
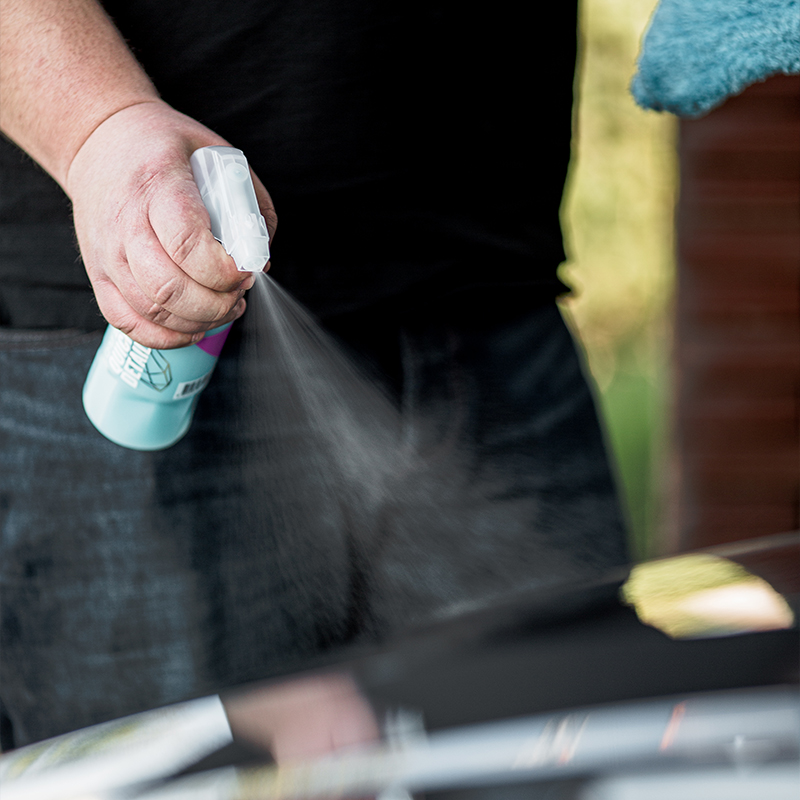
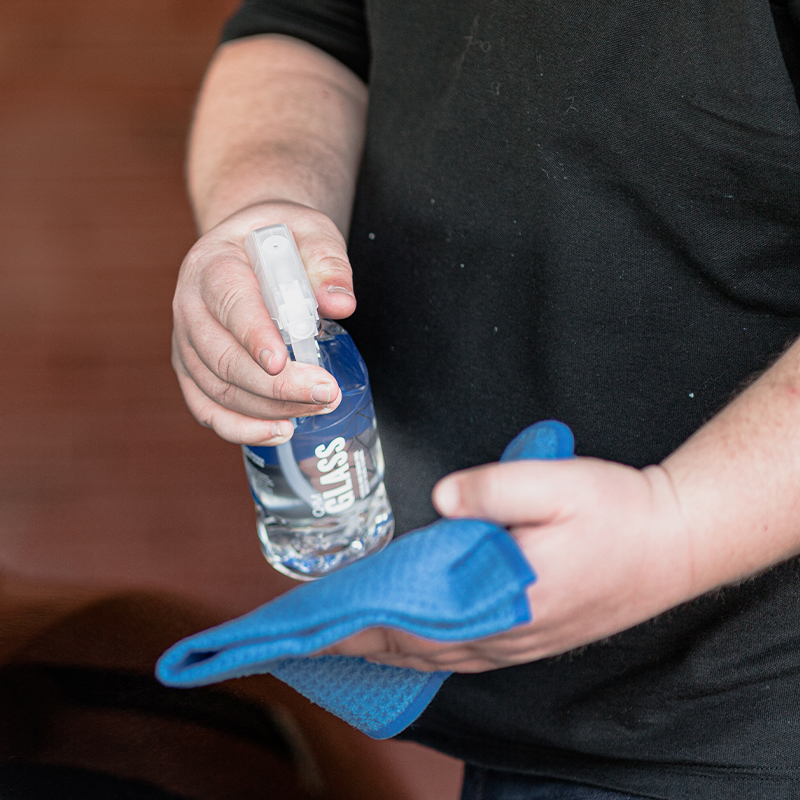
Quick Detailing: pick up any last bits of residue, fingerprints or dust while leaving a protective layer on the paintwork, along with some gloss.
Mist over the paintwork & buff off with microfiber buffing towel.
Get all the pro tips in Quick Detailing.
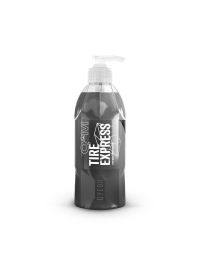
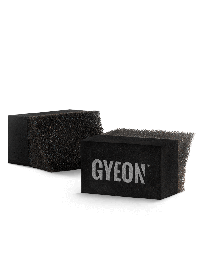
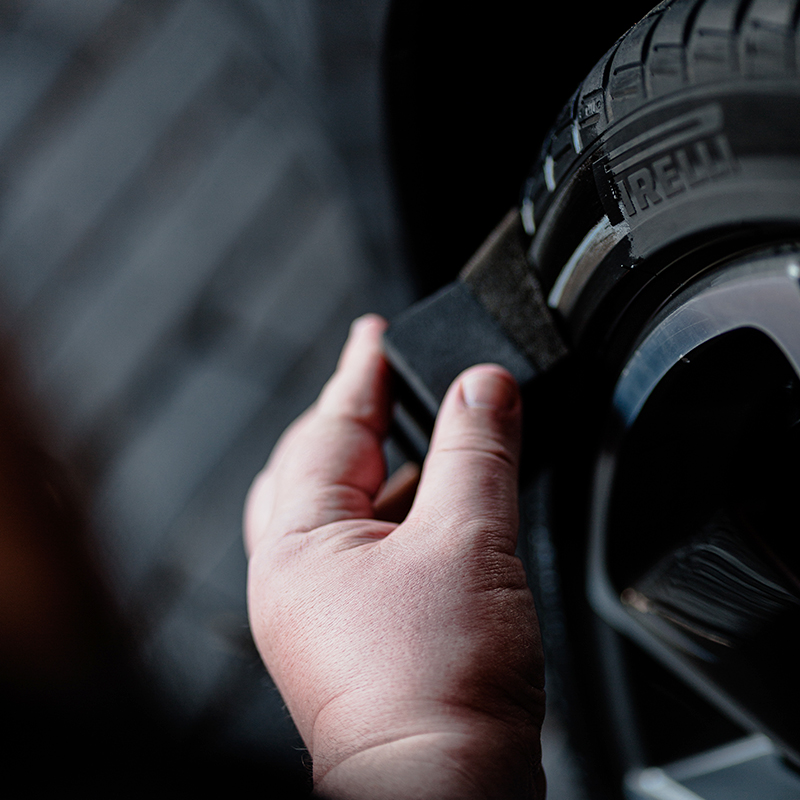
Tyre Dressing: give tyres a deeper colour & look healthy as they were on day 1 by saturating the porous surface of the rubber and filling in the microscopic gaps.
Add to a curved applicator pad & run around the tyre wall.
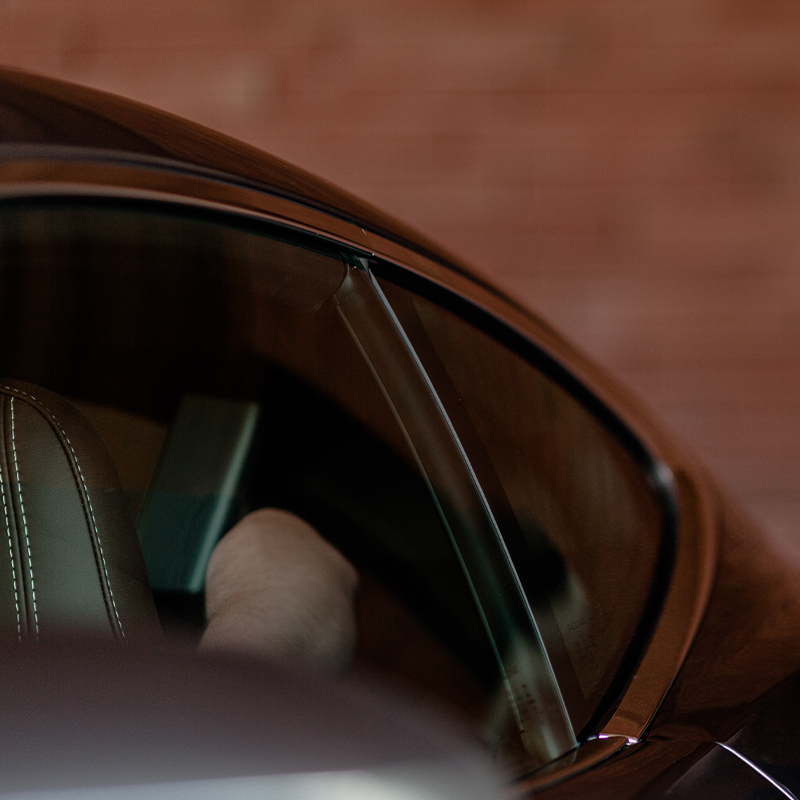
Glass Cleaning: give glass waffle a good misting, work one window at a time, don't let it dry itself. Seeing streaks? go again, working quickly to rub it in.

Brake Discs: Roll forwards, gently brake, then back again and watch your brakes clean themselves. Now you're done!